Singer Tension Assembly Fix
This post is kind of technical and specific to certain machines. However I could not find this help elsewhere on the internet so consider this my contribution to the sewing machine self-help knowledge pool. If you find it helpful please let me know!
The clever Nichola at Handmaker's Factory in Melbourne recently posted about fixing the timing on the industrial Janome sewing machine in their studio. This spurred me into action because I knew I had an old Singer that needed its timing fixed. I have a love of old mechanical sewing machines and fixing minor issues makes me feel rather handy. So I watched the videos, gave it a try and it worked! Booyah!
But. The machine still had a problem. Pretty much total lack of tension on the upper thread. The end of the tension dial would not wind in far enough to put pressure on the tension discs, and when wound out, it would keep winding and come right off.
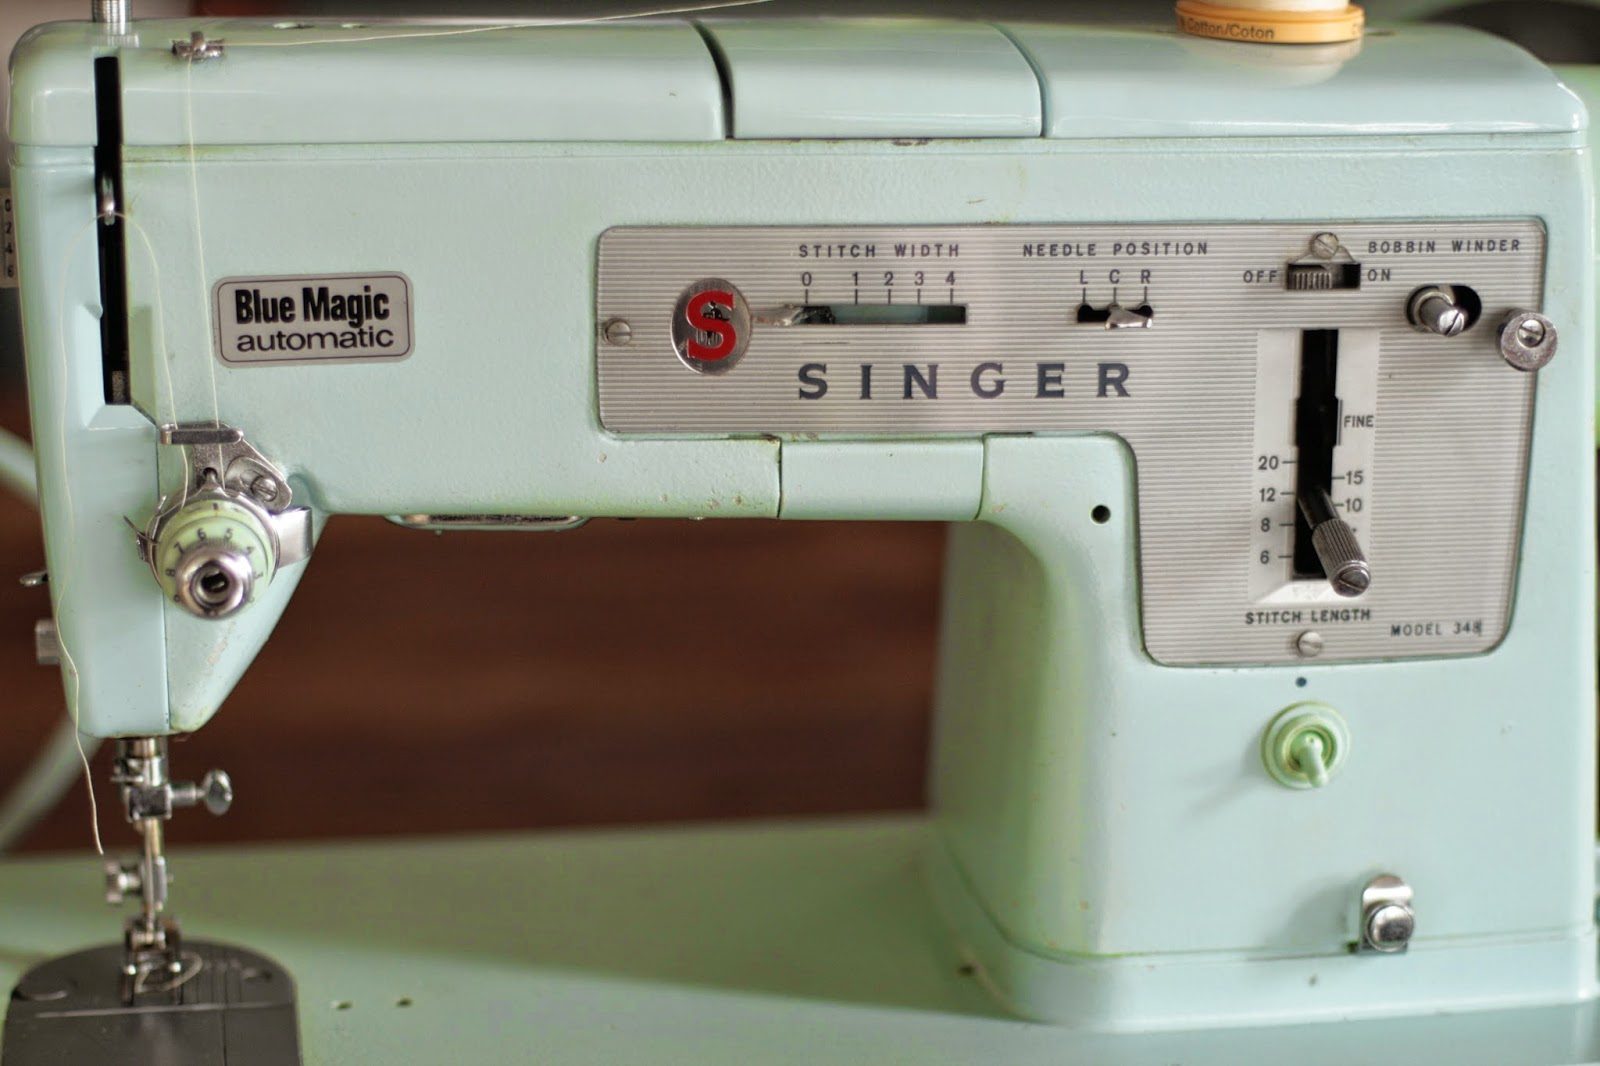
The machine is a Singer 348 - the beguiling 'Blue Magic'.
This is how the tension dial should have looked - happy:
 And how it was - sad.

But I finally worked out how to fix it and I was so pleased - and it's really so simple - that I wanted to share it in case it will help anyone else.
Below you will see I have unscrewed the numbered end dial of the assembly until it comes right off. Leave everything else right where it is - don't pull it apart.
 (If it happens to jump apart by itself don't panic, there's a very clear photographic record of how to assemble a slightly older Singer tension dial here, which is basically the same except for this last part.)
Now, in the slightly blurry shot below, you see the 'stop washer' with a small finger-like extension up the top. It slots over the two prongs of the 'tension stud' that goes right through the middle of the whole assembly.
 When the front dial is on, that little finger will stop it turning when it hits the bump inside the dial (blue plastic, below).

 When you feel the resistance of the stop washer, push a bit harder. The stop washer should push back against the spring and release the front dial so you can screw it on further. (Use fingers to screw dial on further - mine were busy with the camera!)
 Now the dial should be in its proper position, and you will be able to turn it between 0 and 9 and it will not be able to come off. (Unless you want to take it off, in which case you will need to depress the stop washer again to release.)
 Happy tension dial!
NB: test the tension - you may have to play around a bit with where the numbers are facing when you initially screw the front dial on. The tension assembly post I linked to above suggests you should start with numbers 2-3 at the top. This will determine how far the dial will screw on before the stop washer engages, and therefore how much pressure/tension is created. I ended up with way too much tension on my first couple of tries.
Here's another tip: I've found this offset screwdriver an invaluable tool when tinkering with sewing machines. Sometimes screws are in tricky locations that don't allow even short screwdrivers to fit properly in, and trying to 'make do' can end up in frustration and mangled screw heads. This just came from the hardware store. Surprisingly, with some machines you even need a tool like this just to get proper access to clean lint out from around the bobbin case and feed dogs. Which of course is something you all do regularly, right?!

If your machine still has issues or if tinkering really isn't your style, or perhaps your machine just needs a service and some TLC, we recommend the lovely folk at All Make Sewing Centre on Goodwood Road.
Happy sewing!
- Jane x
The clever Nichola at Handmaker's Factory in Melbourne recently posted about fixing the timing on the industrial Janome sewing machine in their studio. This spurred me into action because I knew I had an old Singer that needed its timing fixed. I have a love of old mechanical sewing machines and fixing minor issues makes me feel rather handy. So I watched the videos, gave it a try and it worked! Booyah!
But. The machine still had a problem. Pretty much total lack of tension on the upper thread. The end of the tension dial would not wind in far enough to put pressure on the tension discs, and when wound out, it would keep winding and come right off.
The machine is a Singer 348 - the beguiling 'Blue Magic'.
This is how the tension dial should have looked - happy:
But I finally worked out how to fix it and I was so pleased - and it's really so simple - that I wanted to share it in case it will help anyone else.
Below you will see I have unscrewed the numbered end dial of the assembly until it comes right off. Leave everything else right where it is - don't pull it apart.
Now, in the slightly blurry shot below, you see the 'stop washer' with a small finger-like extension up the top. It slots over the two prongs of the 'tension stud' that goes right through the middle of the whole assembly.
If you simply screw the dial straight back on, the stop washer will stop the dial after just a turn or two. So you need to push the stop washer back against the spring that's behind it, so the dial can screw on further.
Screw the dial on as far as it will initially go. (Tip: read NB section at end of post.) Then take a small screwdriver or other flat instrument that will fit down the centre and between the prongs of the tension stud.
NB: test the tension - you may have to play around a bit with where the numbers are facing when you initially screw the front dial on. The tension assembly post I linked to above suggests you should start with numbers 2-3 at the top. This will determine how far the dial will screw on before the stop washer engages, and therefore how much pressure/tension is created. I ended up with way too much tension on my first couple of tries.
Here's another tip: I've found this offset screwdriver an invaluable tool when tinkering with sewing machines. Sometimes screws are in tricky locations that don't allow even short screwdrivers to fit properly in, and trying to 'make do' can end up in frustration and mangled screw heads. This just came from the hardware store. Surprisingly, with some machines you even need a tool like this just to get proper access to clean lint out from around the bobbin case and feed dogs. Which of course is something you all do regularly, right?!
If your machine still has issues or if tinkering really isn't your style, or perhaps your machine just needs a service and some TLC, we recommend the lovely folk at All Make Sewing Centre on Goodwood Road.
Happy sewing!
- Jane x


Thanks! This helped me, I have 338, my tension assembly was incorrectly put together ( the metal knob turned, but the numbers didn't) Based on your photos of inside of the metal knob, realized that person who owned before had put all parts of metal knob together, without the green number piece in the middle, so, yay! It is now correct :) I was going crazy adjusting tension without number dial frame of reference. Plus, your tip to shove in the stop with a screwdriver saved me aggravation when I finally got the tension assembly correctly assembled.
ReplyDeleteThanks for your comment Steph! I'm so glad you've found this helpful. And hooray that your machine now has a working tension dial!
DeleteBut how do you get the front of the dial off? Just that little screw that comes in on the side of the metal-front-part? And then just pull?
ReplyDeleteHi Emily - gosh I'm sorry this was a while back so I can't remember exactly but I think it just unscrewed, in the opposite direction to tightening the tension?
Delete